Probe Mounting Location
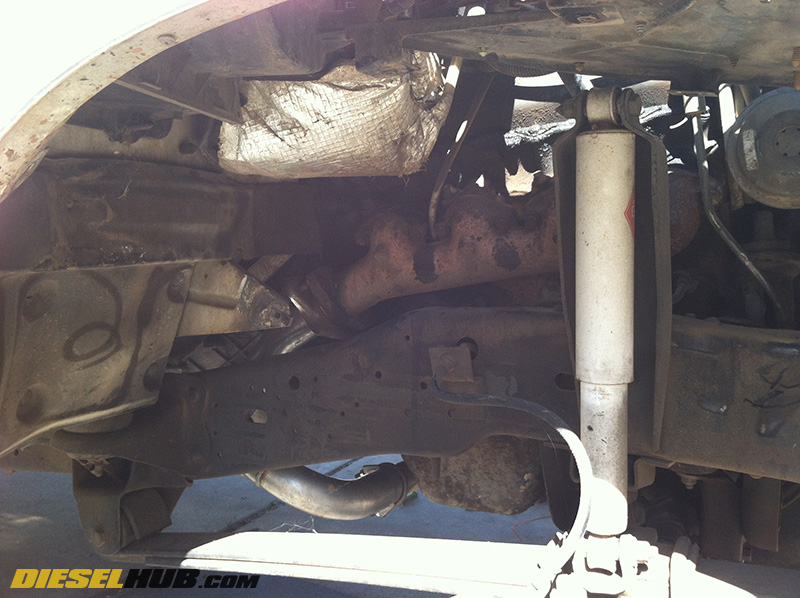
The most effective mounting location for the probe/thermocouple on the IDI diesel is in one of the exhaust manifolds just before the collector (flange where the exhaust manifold dumps into the exhaust system). On turbocharged IDI engines, you may choose a location closer to the turbocharger, however this provides no advantage. More importantly, do not place the probe on the outlet of the turbocharger. Do to the thermodynamic process of converting heat energy across the turbine, the outlet temperature may read significantly lower than at the inlet of the turbine and is thus of no use with regards to monitoring. The passenger side exhaust manifold is relatively easy to access with the inner fender removed and provides plenty of space to work.
Click any thumbnail image to view full-size
• Disconnect the negative terminal from both batteries.
• Jack up the front of the truck, remove the passenger side tire, and support the vehicle with jack stands.
• Remove the passenger side inner fender.
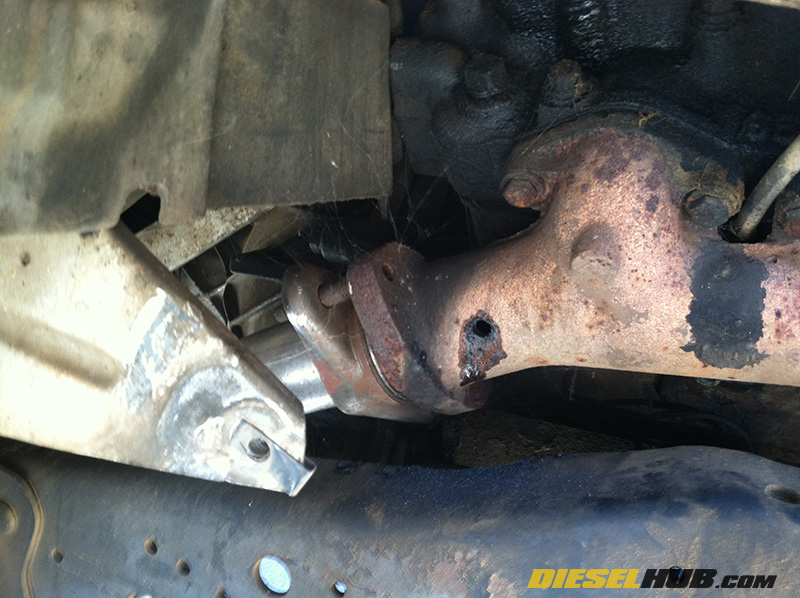
• Drill a 5/16" (0.339") hole into the exhaust manifold. Orient the hole so that a probe can easily be installed.
• When drilling cast iron, go slow and do not apply a lot of pressure; the last thing you want to do is crack the manifold. A liberal amount of cutting fluid or oil helps prevent the drill bit from catching once it has penetrated the manifold.
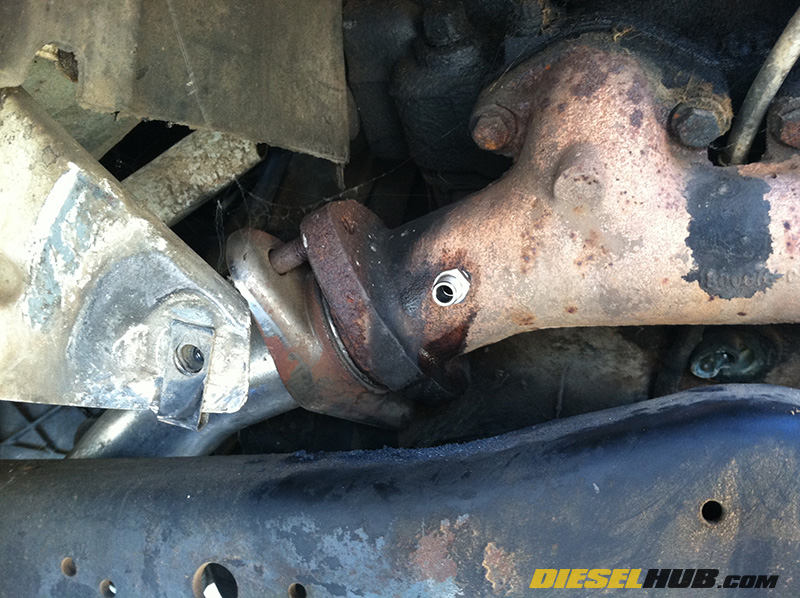
• Tap the hole with a 1/8" NPT pipe tap. Again, go slow and use plenty of cutting fluid.
• NPT pipe threads are tapered, so the size of the hole increases with the depth of the tap. For this reason, do not run the tap until it reaches maximum cutting depth. To avoid cutting the threads to deep (and wide), run the tap for a few turns, then check fitment of the probe. Stop tapping the hole once the probe nut seats snuggly into the exhaust manifold.
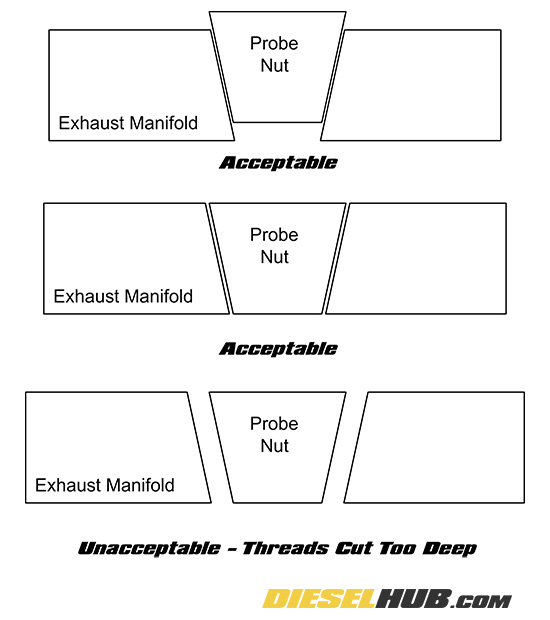
• The image at left is an exaggerated representation of what will happen if the threads are cut incorrectly (too deep). Both the NPT nut and the threads tapped into the manifold are tapered. The issue is, if you cut the threads too deep, the nut will never seat.

• Install the extension cables to the pyrometer and use the supplied heat shrink around the connectors.
• Run the thermocouple (probe) cable into the cab and connect all supplied wires to the gauge per the manufacturers instructions. You will need to supply a 12v+ and ground to the gauge through a circuit that is only hot when the vehicle is in the "run" position. Finding an empty terminal on your fusebox is as simple as probing the terminals with the key in the "run" position and "off" position until you find a circuit that only supplies power when the key is in the "run" position. Do not pull a 12v+ supply straight from the battery, as you do not want the pyrometer to be on while the vehicle is not running.