The Sterling 10.25 rear differential is a heavy duty, full floating rear axle produced by Ford Motor Company and used in the Ford F-Series (F-250/F-350). The name is derived from the fact that the differential features a 10.25 inch ring gear and is manufactured at Ford's Sterling Axle Plant in Sterling, Michigan. The 10.25 inch was replaced by an updated version of the axle assembly for the 1999 model year, which features a 10.50 inch ring gear.
Sterling 10.25 in Differential Specs
| Manufacturer | Ford Motor Company | |
| Production Plant | Sterling Axle Plant, Sterling, Michigan | |
| Applications | 1st Gen Sterling 10.25 |
1985 - 1992 MY Ford F-250, F-350 |
| 2nd Gen Sterling 10.25 | 1993 - 1997 MY Ford F-250, F-350 | |
| Type | Full floating rear differential (semi float variety used in light duty vehicles, all Super Duty and standard F-250/F-350 models are full floating) | |
| Ring Gear Diameter | 10.25" | |
| Pinion Shaft Spline | 31 spline | |
| Axle Tube Diameter | 3.50" | |
| Axle Shaft Diameter | 1.50" | |
| Axle Shaft Spline | 35 spline | |
| Fluid Spec | SAE 75W-140 synthetic gear oil, a friction modifier may be required for limited slip differentials | |
| Fluid Capacity | 3.25 - 3.50 quarts, always add fluid to fill plug level | |
| Diff Cover Bolt Torque | 29 - 39 ft-lbs | |
Associated Parts List
| Part Description | Part Number(s) | Remarks/Notes |
| Gear oil | 75W-140 full synthetic Recommend Amsoil Severe Gear 75W-140 |
[1] |
| Friction modifier | Motorcraft XL-3 | [2] |
| Differential cover gasket | Spicer RD52002 | [3] |
[1] Any full synthetic 75W-140 gear oil will suffice; recommend Amsoil gear oil.
[2] Required for limited slip differentials.
[3] Gasket optional; differential cover may be sealed with RTV silicon only.
Sterling 10.25 Differential Oil Change Procedures
The Sterling 10.25" axle comes from the factory without a gasket between the differential housing and cover. Rather, a bead of silicon is used to seal these two surfaces. You may choose, as we did, to install a gasket but it is acceptable not to. Procedures may vary slightly depending on application, as will the recommended fluid replacement intervals.
Click any thumbnail image to view fullsize
• Remove the spare tire to gain full access to the rear end.
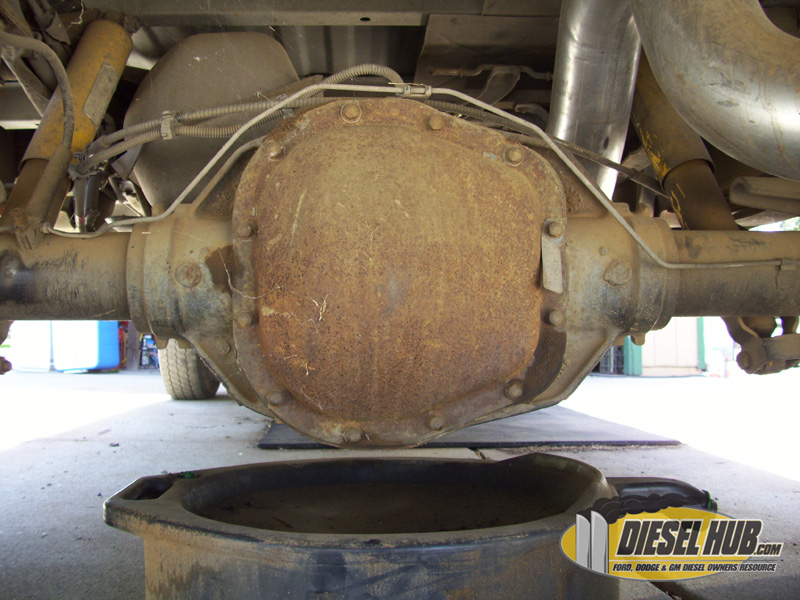
• Place a drain pan beneath the differential housing to capture the oil once the differential cover is removed.
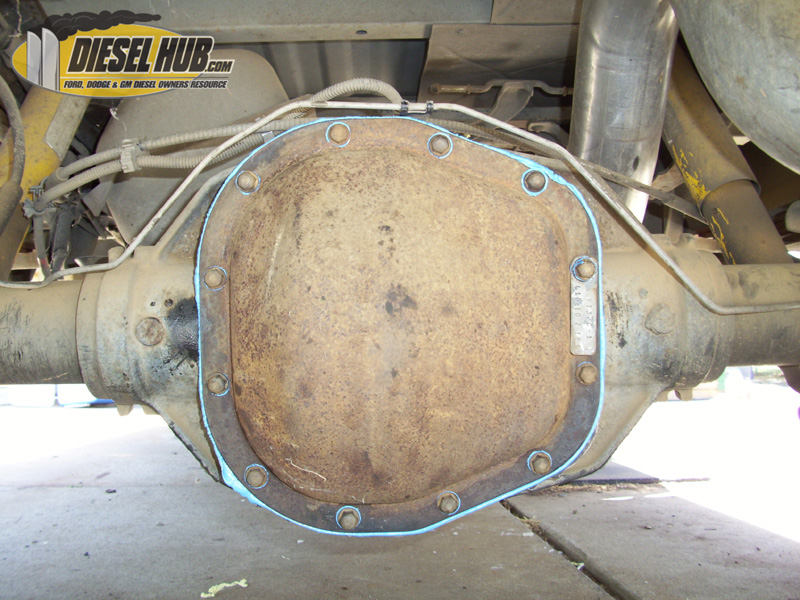
• Clean up any loose grease, dirt, and debris that may have accumulated around the edges of the differential cover so that it doesn't find its way into the housing once the cover is removed.
• 12 bolts hold on the differential cover; using a 1/2" socket, generously loosen the top 2 bolts and remove the remaining 10. Not removing the top 2 bolts will hold the cover in place while the fluid drains, reducing the chances of creating a big, oily mess.
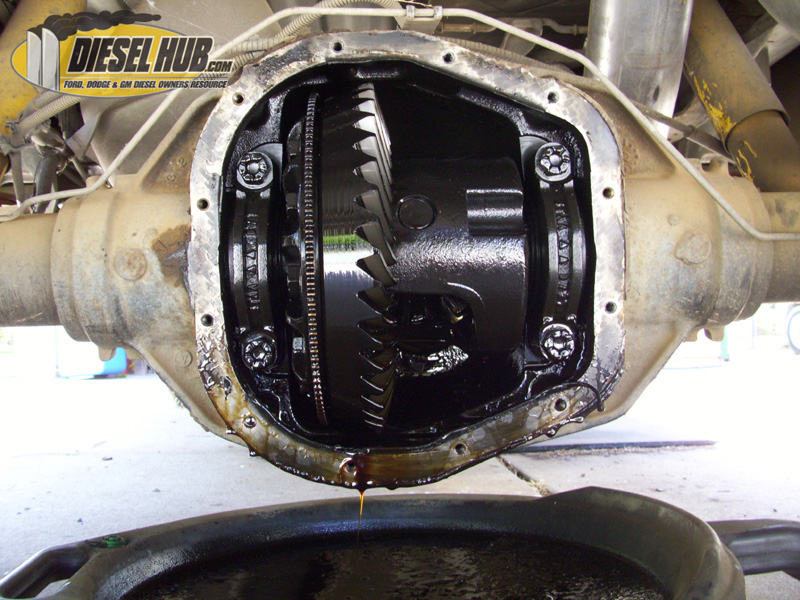
• With the top 2 bolts loosened and the remaining 10 removed, use a gasket scraper (or putty knife) to carefully pry the differential cover and break the silicon seal near the bottom of the differential. You may have to work the gasket scraper around the cover a few times in order to work it free. Be gentle and don't use excessive force, as you do not want to bend or dent the diff cover, which could compromise your seal during reinstallation.
• Allow the fluid to drain and then remove the differential cover completely.
• Use a clean, lint free rag to soak up any remaining fluid trapped and/or pooled in the crevices of the differential housing.
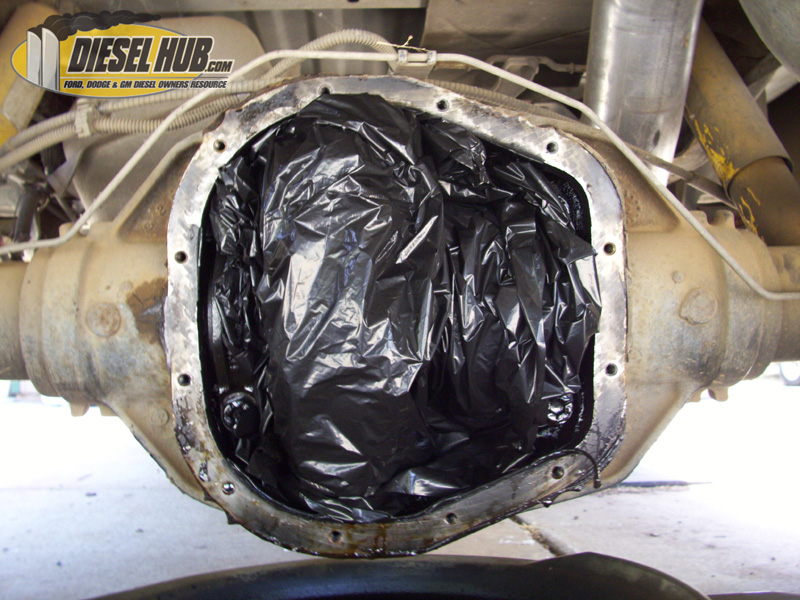
• Carefully cover the differential's internal parts with a clean trash bag to prevent debris from entering.
• Use a gasket scraper to completely remove any silicon and/or gasket material stuck to the differential housing. A fine grit (400+) sandpaper can also be used once the larger pieces have been removed. To finish prepping this mating surface, wipe it with a clean rag that has been lightly doused with a solvent (brake cleaner, acetone, etc).
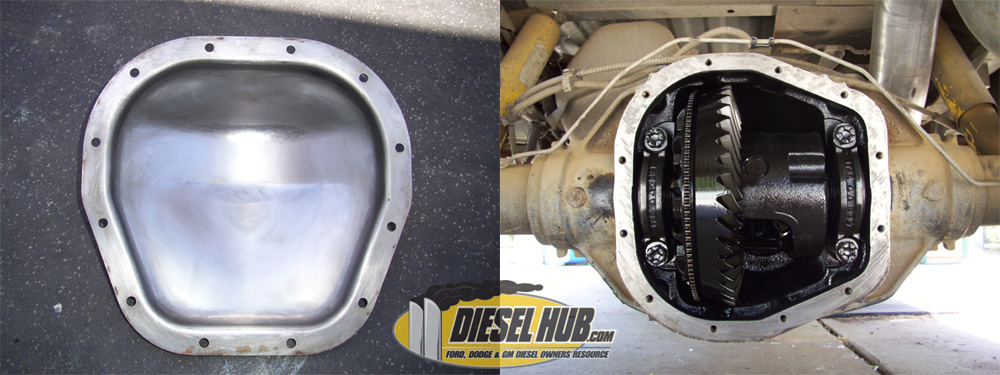
• Use a gasket scraper and a light grit sandpaper to remove all silicon/gasket material from the differential cover, then thoroughly clean the cover with a solvent and a clean rag.
• Clean all the mounting bolts - any silicon stuck to the bolts should be removed. Brake cleaner and a small wire brush makes quick work of the old sealant.
• Once the differential cover and differential housing surfaces are prepped, remove the trash bag from inside the differential housing.
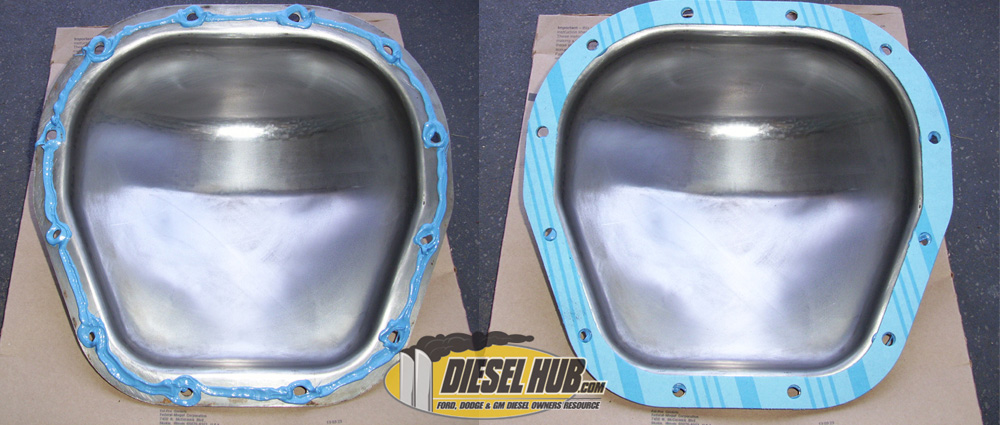
Installation w/ Gasket:
If you've chosen to install a gasket, then you need to lay a bead (1/8" - 1/4" wide) of oil resistant RTV silicon around the differential cover (and around the mounting holes), then line up and set the gasket in place on the cover. You do not need to place any silicon between the gasket and the differential housing - the gasket will seal to this machined surface and silicon is only necessary between the gasket and differential cover.
Installation w/ Silicon Only:
If you've chosen not to install a gasket, run a small bead (about 1/4" wide) of oil resistant RTV silicon around the surface of the differential housing where the cover mounts. Be sure to circle each of the mounting holes as well.
• Whether you've chosen to install a gasket or not, the next step is identical in both cases - reinstall the differential cover, installing all the bolts hand tight, then lightly snugging them down in a star pattern.
• Torque differential cover mounting bolts to 15 - 20 lb-ft, and finally 29 - 39 lb-ft in a star pattern to ensure a positive, equally distributed seal.
• Allow the silicon to cure for the manufacturer's recommended period of time before continuing.

• The fill plug is located on the front, driver's side of the differential housing (near the pinion), and requires a 3/8" drive socket wrench or breaker bar. Remove the plug, and pump new gear oil into the differential until it begins to run out the fill plug. The 10.25 differential calls for 3.25 - 3.50 quarts of 75W-140 full synthetic gear oil. Obtain 4 quarts and fill the differential housing until the fluid level reaches the height of the fill plug.
• If the truck is equipped with a limited slip differential, you will need to add 8 ounces of Ford's XL-3 friction modifier before adding gear oil. Without the friction modifier, a limited slip differential will chatter and the tires will chirp when making turns.
• Make sure to clean the fill plug before reinstalling and check for leaks once the procedure is complete.

