The fuel filter on a 7.3 liter Power Stroke is required to be replaced at 15,000 mile intervals under normal operating conditions and every 7,500 miles if a biodiesel blend in excess of 5% is used. Biodiesel is an excellent solvent and will dissolve deposits. The resulting sediment can overburden the filter element and restrict fuel flow, so it is important to adhere to the more frequent maintenance intervals if biodiesel is being used or if there is a suspicion that fuel contains biodiesel. Biodiesel also contains filter clogging impurities and is more hygroscopic than petroleum diesel fuel, so it will have a greater propensity to absorb water from humid air.
Even when biodiesel is not being used, you may notice fine sediment buildup in the bottom of the fuel filter housing. This is an entirely normal part of the filtration process. It is not uncommon for a small amount of dirt or dust to entire the tank during refueling. The finer particles can pass through the strainer at the end of the in-tank sending unit and get moved to the filter housing. Particulates and water settle to the bottom of the fuel bowl because they are heavy, while fuel is drawn through the top of the bowl as not to disturb these contaminants or overburden the filter element.
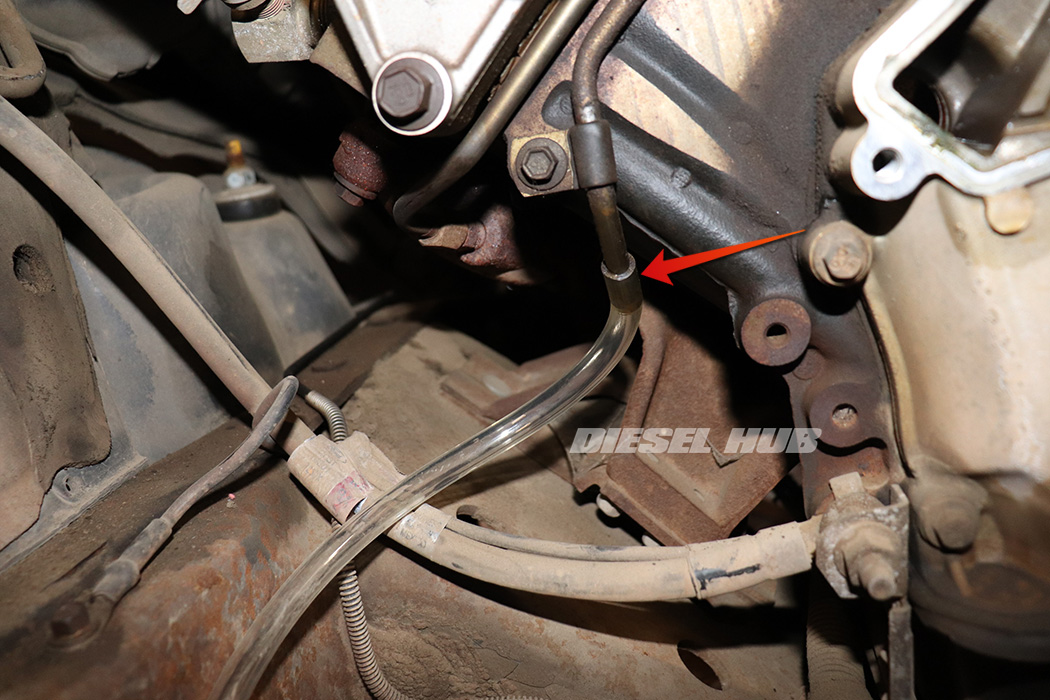
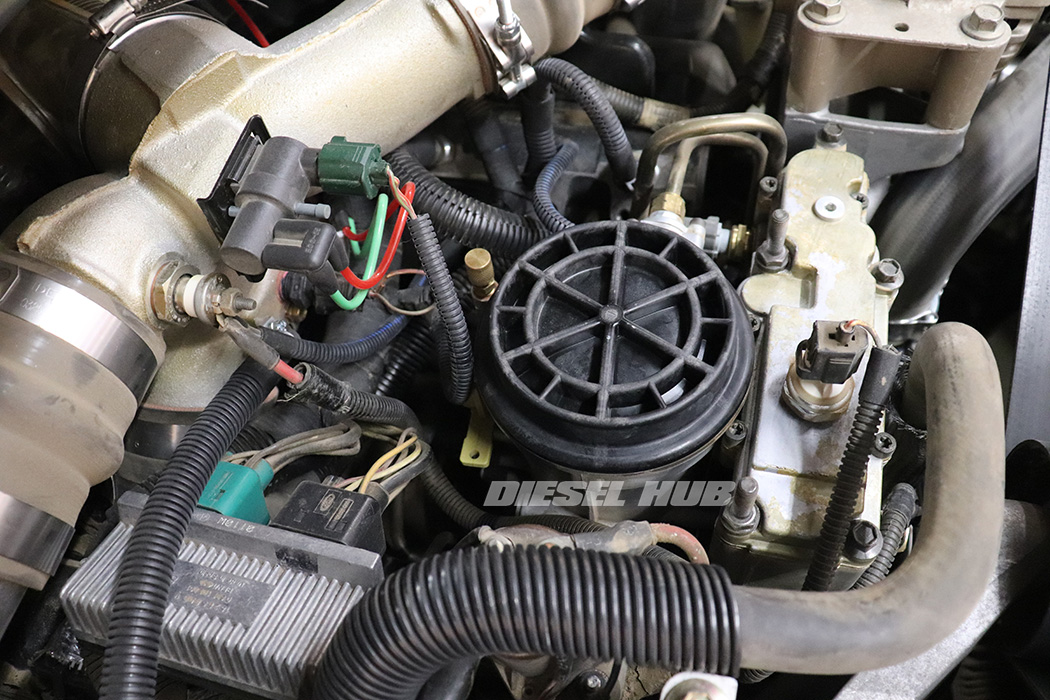
All 7.3 liter Power Stroke engines have a 5/16 inch (OD) metal line that connects to the fuel filter housing drain valve. When the valve is opened, fuel drains from the bottom of the bowl and out of the rigid line. The filter housing is drained prior to service, to take a fuel sample for inspection, and/or to periodically drain water from the bottom of the bowl. The metal line terminates just below the passenger side cylinder head near the location where the exhaust backpressure sensor tube connects to the exhaust manifold at the front of the engine (figure 1 below).
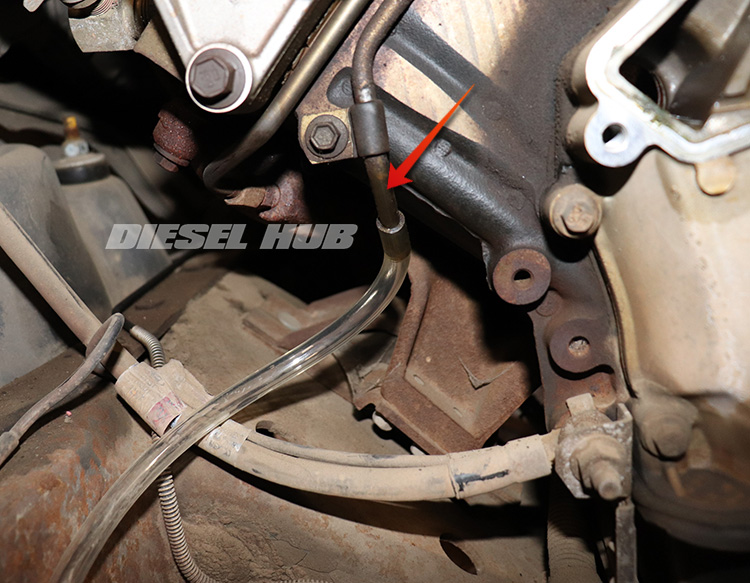
Attach a section of 5/16 inch (ID) fuel hose or tubing to the metal line and keep it long enough that the fuel bowl can be drained into a container placed on the ground. When not in use, it can be tucked inside the frame rail. This will prevent fuel from spilling onto the frame, steering rods, and ground cable when the bowl is drained.
| Component | Part Number | Remarks | |
|---|---|---|---|
| Fuel filter | 1994.5 - 1997 | Motorcraft FD-4595 | [1] |
| 1998 - 2003 | Motorcraft FD-4596 | ||
| Fuel bowl cap | 1994.5 - 1997 | Ford F5TZ-9G270-A | [2] |
| 1998 - 2003 | Ford F81Z-9G270-BA | ||
[1] - Replacement fuel filter includes all necessary seals
[2] - Part can be reused; inspect and replace only as necessary
How to Replace the Fuel Filter on a 7.3 Power Stroke Engine
Click any thumbnail to view fullsize, detailed image
- Locate the metal drain line that travels down the front, passenger side of the engine block - it begins in the engine valley and is connected to the drain valve mounted to the fuel bowl.
- Attach a section of 5/16 fuel hose or chemical tubing to the end of the drain line. Leave the hose long enough that it will drain into a container that is placed on ground level.
- Place a suitable container beneath the drain line.

- Locate the drain valve lever (yellow handle) on the front, passenger side of the fuel filter housing.
- Push the lever towards the passenger side fender to open the valve.
- The yellow handle will rotate approximately 90 degrees before resting against the open position stop.

- Locate the drain valve lever (yellow handle) on the rear, passenger side of the fuel filter housing.
- Push the lever towards the firewall to open the valve.
- The yellow handle will rotate approximately 90 degrees before resting against the open position stop.

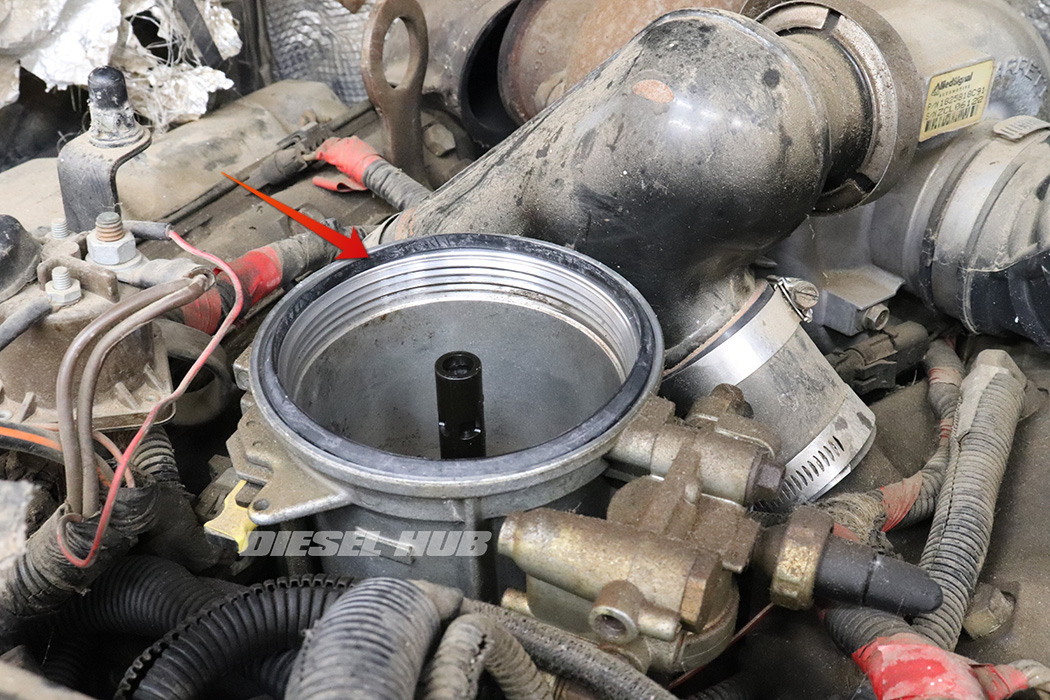
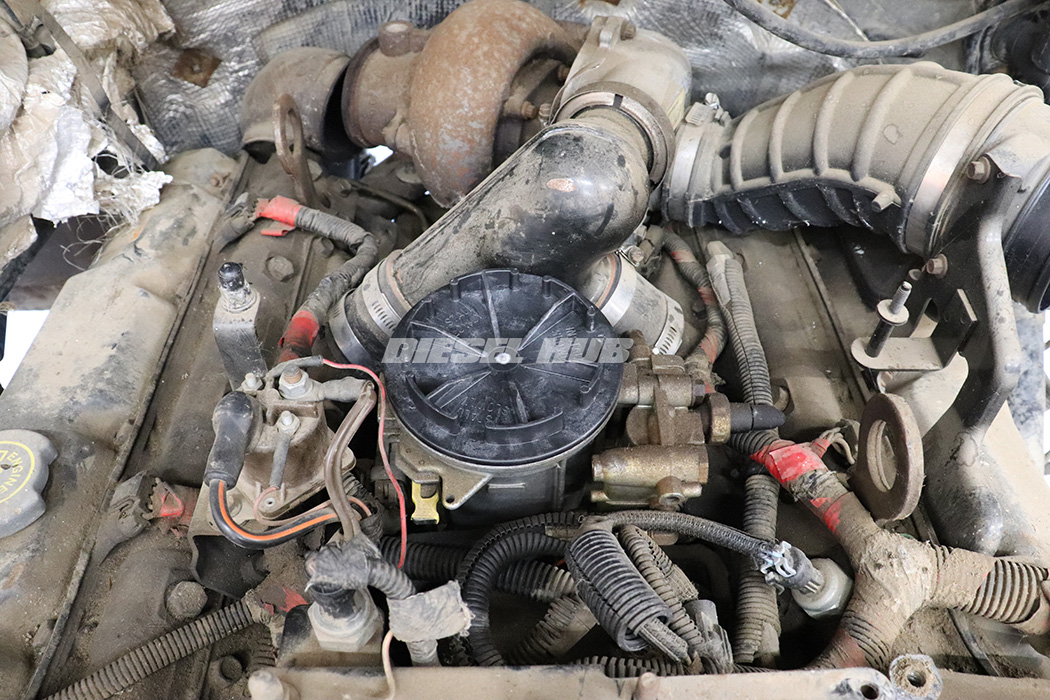
- While the fuel bowl is draining, loosen and then remove the fuel filter housing cap.
- Although there are several styles of aftermarket cap, there are special sockets that fit into the grooves of the OEM caps (recommend OTC 6760).
- Improvising with a screwdriver or re-purposing tools that don't quite fit the mold can result in the cap becoming damaged. Adding an appropriate tool to your arsenal is highly recommended.
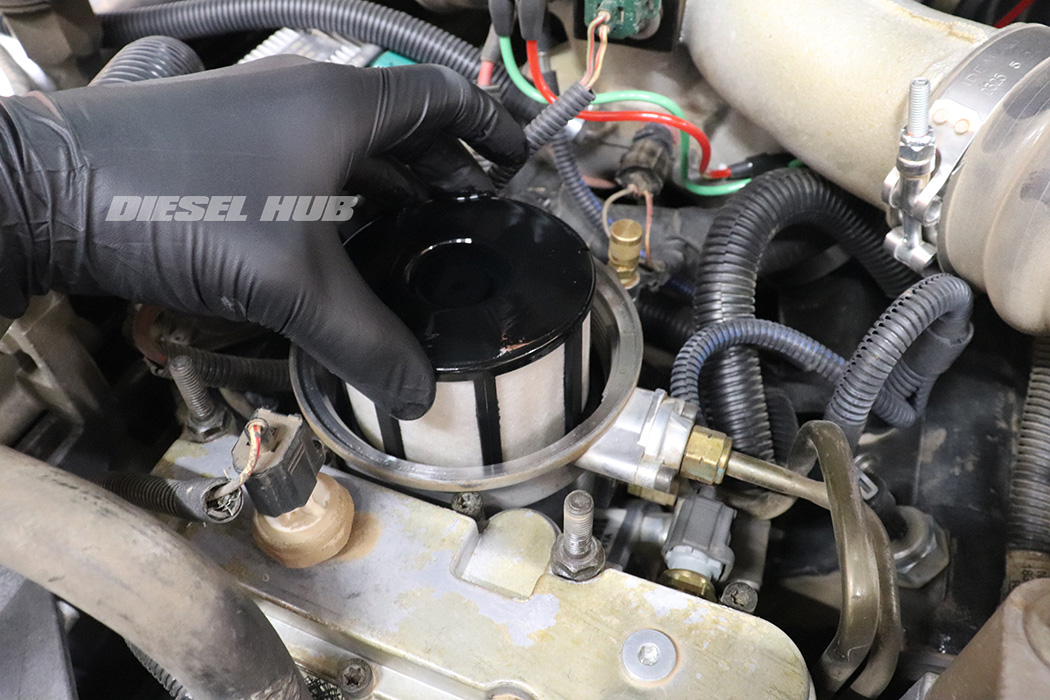
- Remove the filter housing cap and fuel filter.
- On engines with mechanical fuel pumps, the filter element should be attached to the cap and is removed as an assembly.
- On engines with electric fuel pumps, the cap is removed, followed by the filter element.
- Have a good shop towel at the ready to catch fuel dripping from the filter.
- If the filter cap gasket sticks to the housing, remove it.
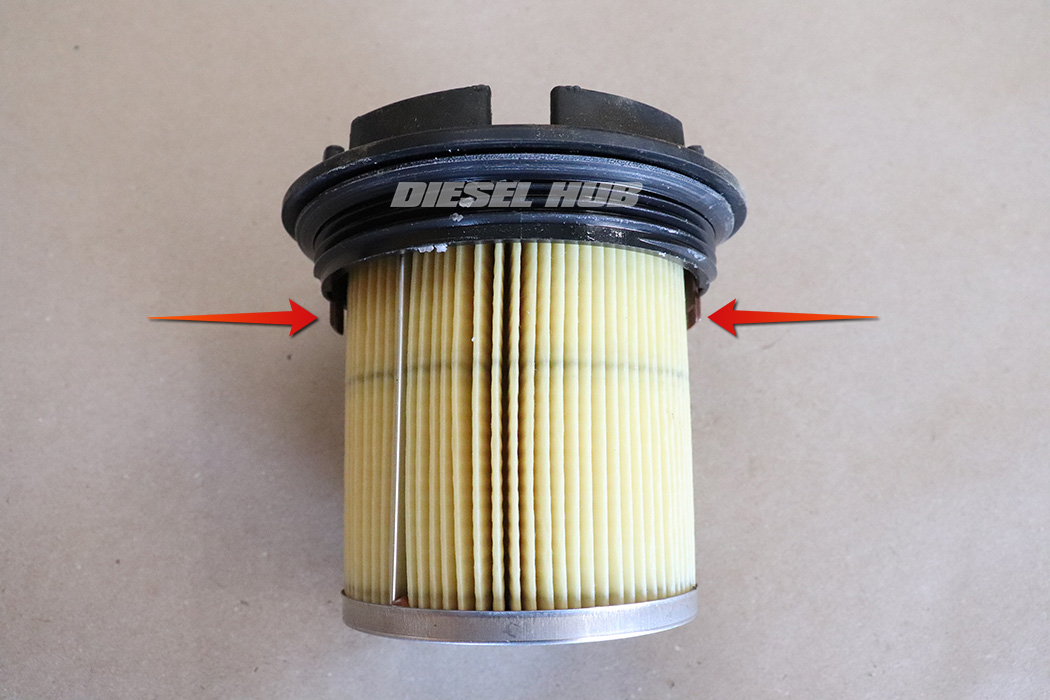
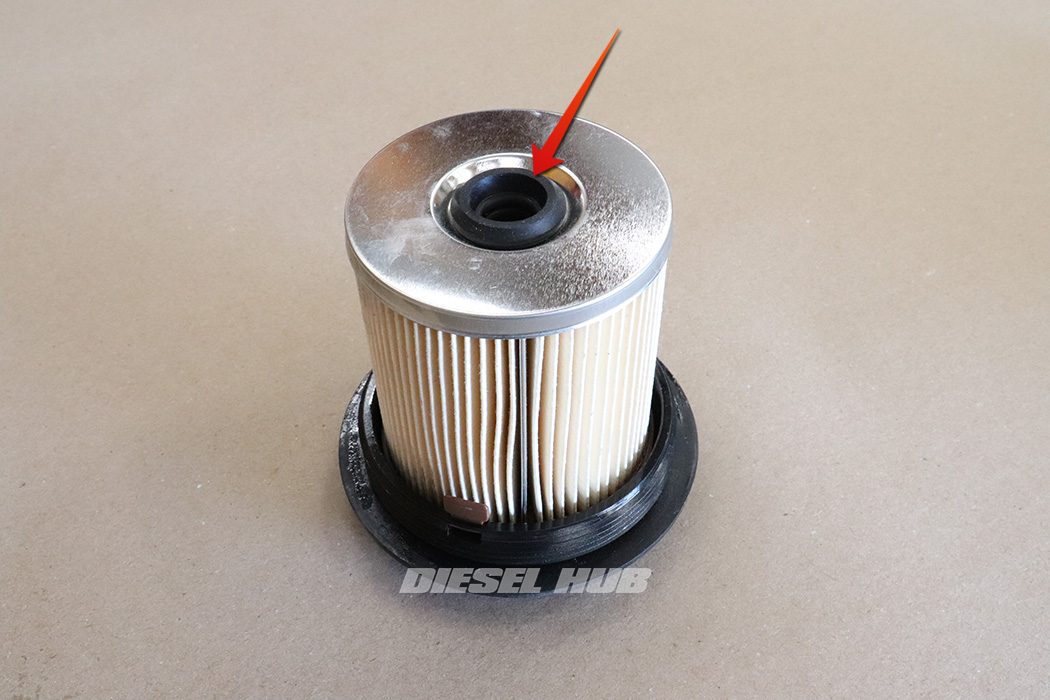
- Push both detents (pictured, brown tabs) at the top of the filter inwards and separate the filter element from the cap.
- Remove the filter housing cap gasket if it has come out with the cap.
- Wipe down and clean the filter cap as necessary.
- Align and install the replacement filter element into the cap in reverse order.
- Coat the rubber seal at the base of the filter element with clean fuel or motor oil (preferred).
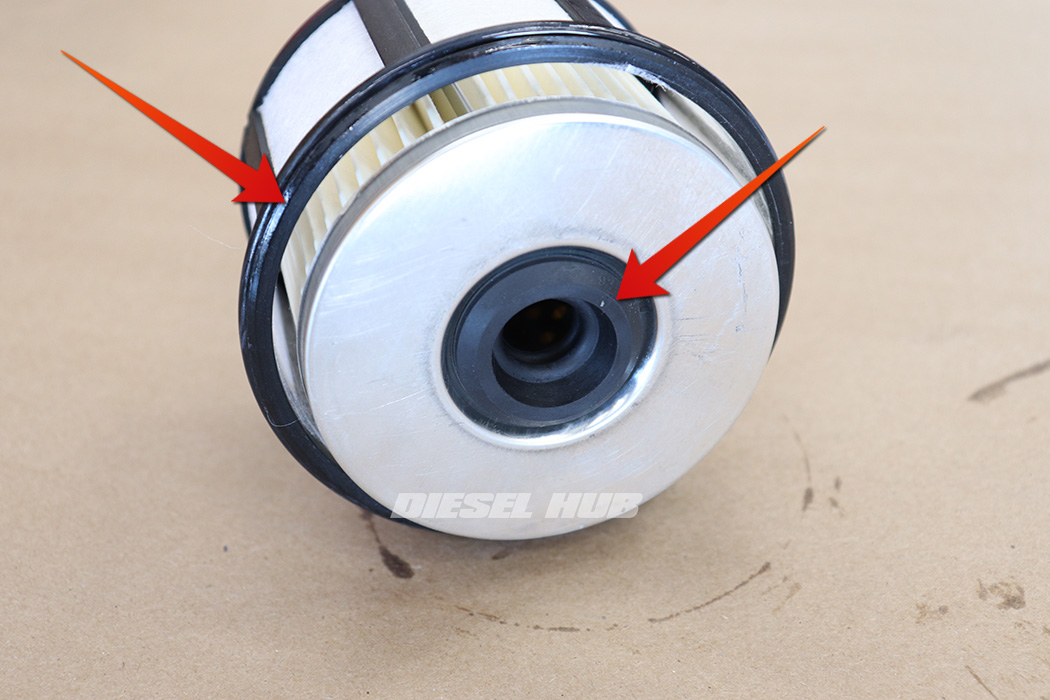
- Thoroughly lubricate the outer o-ring with clean motor oil, then install it onto the filter element.
- Lubricate the inner rubber seal at the base of the filter element with clean fuel of motor oil (preferred).
- Thoroughly lubricate the filter housing cap gasket with clean motor oil.
- Install the gasket into the filter housing grooves. It may be necessary to work some of the "memory" out of the gasket so that it will sit flush.
- Note that the gasket is beveled and that the flat portion of the gasket should seat against the filter housing. The beveled portion of the gasket (thinner profile) seats against the cap.

- Align and install the new filter element over the stand pipe in the filter housing. It must seat completely against the base of the fuel bowl.
- Align and install the new filter element over the stand pipe.
- Start the cap by hand, then tighten until the gap between the cap and the housing closes. Snug the cap down, there is no need to tighten excessively.
- Close the drain valve, then prime the fuel system.
- Reposition or remove the drain line hose (if used) so that it will not get caught in the accessory drive belt.
- Start the engine and verify there are no leaks.
- Reinstall the filter housing cap, tightening by hand.
- Start the cap by hand, then tighten until the gap between the cap and the housing closes. Snug the cap down, there is no need to tighten excessively.
- Close the drain valve, then prime the fuel system.
- Reposition or remove the drain line hose (if used) so that it will not get caught in the accessory drive belt.
- Start the engine and verify there are no leaks.

